Wednesday, July 25, 2012

Colorful Works in Progress & Leftover Paint Projects

WORKS  IN  PROGRESS

I am so inspired by the latest Cloth Paper Scissors magazine to CREATE! Little did I know the choice to use a 4 pack of Michael's 6x6 canvases for my latest multi-media creations would be perfect for the local Utrecht store's upcoming 6x6 challenge / show that I found out about today! Ahh, FATE. :) The canvases are not done, but here's a sneek peek:


The raised surface at the tops of these canvases are a layer of Golden Light Molding Paste into which I impressed various circle shapes from bottle tops to straws. After the molding paste was dry (I left it overnight), I used Caran D'Ache NeoColor II water soluable wax crayons to scribble areas of color onto the canvas and paste surfaces. Using a damp to wet soft paint brush, I activated the water soluable pigments and allowed them to slosh and mingle with one another. Note: I did rinse off my brush between colors and started with the light colors...working my way to the darker colors, so as not to create mud. Below is an example of a canvas where the top part has had water brushed on it and the bottom portion has not:


Next, I took various colors of Derwent Inktense water soluable pencils and followed around the grooves of the circles that I had made in the molding paste. After, I again used water and a brush to run over the pencil pigment which released their brilliant color into the grooves of the circles. I left all to dry overnight. The following day, I used Liquitex Basics Acrylic Paints to paint the sides of the canvases so that the colors on the sides would match the color swatch areas on the top of the canvases. The sides of the paintings dried in about an hour, after which I used bubble wrap, the plastic covering for oranges and a plastic pipe to put the additional markings on the top of the dried paintings using acrylic paints.

LEFTOVER  PAINT  PROJECTS

I can't stand to waste paint! Use every last drop of pigment SOMEWHERE is my motto!!! As I am painting and finish with an acrylic paint color, if there is paint left, I like to use it on paper and canvas that I make sure to have laying around my work area. Recently I had 2 journals, a wet/dry media paper pad and an unstretched canvas pad available to use on my worktable. 

To create quick paper and canvas pad backgrounds, I get my brush sopping wet, pick up some of the leftover acrylic paint and swipe it across the surface in an up and down and side to side motion, adding more water if I feel necessary to get all the pigment out of the brush. These create great, quick backgrounds to put other leftover paint on such as in these pages:


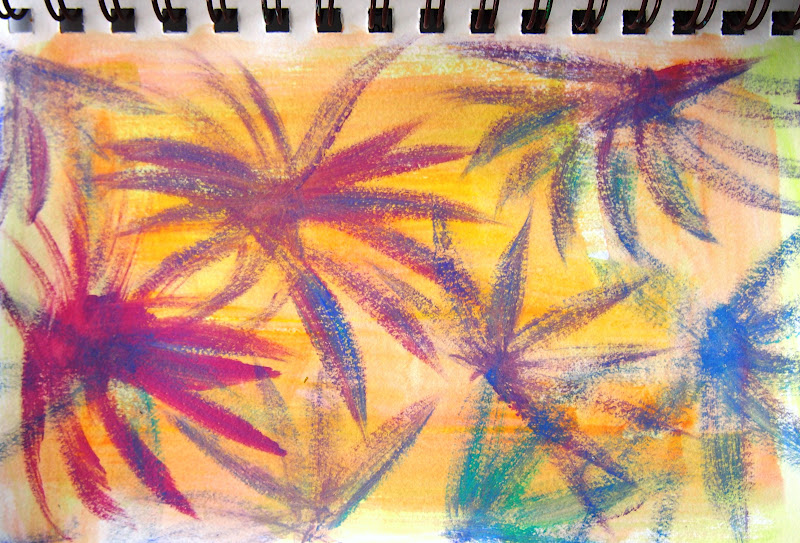


Another technique after adding the wet, sloshy paint to your paper or canvas pad is to press your brush full of water and paint along the top or side of a page and tilt the page up to get the colors to run. I recommend you put paper towels under the edge of your surface to catch the running paint. Remember, you can do the slosh and tilting in multiple directions for even more fun. Here are some examples:

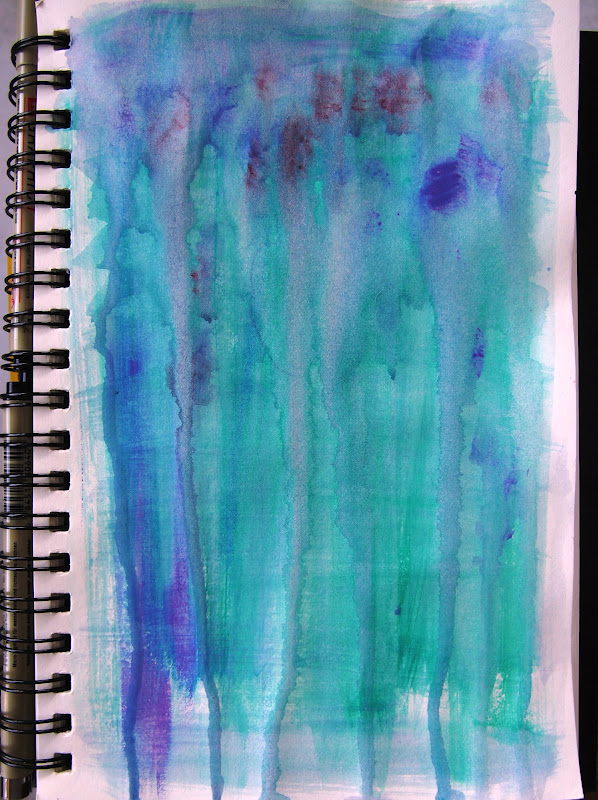

This is on unmounted canvas so that I can sew through it!

And last, below is the beginning of a multi-media painting after using the dripping paint technique on paper that I had already used as a background when painting other small elements, leaving masking shapes behind  that add interest and bold colors to the back story:


If you have any questions about the above painting techniques, just leave me a comment below...

Enjoy a CREATIVE week!  Tristina :D

Sunday, July 1, 2012

Creating on the Fly

Hello! I have been away with my actress daughter in Los Angeles for the past several weeks... Here's a drawing of the beautiful sunset over California we saw as we were flying in - the colors were just too beautiful to pass up:


I took along my artists travel kit complete with drawing/painting pad, Inktense watersoluble pencils, charcoal pencils, graphite, Pentel india ink brush pen, scissors, watercolor postcard pad and my latest Somerset Studio magazine for inspiration. Well, the whole trip was such a whirlwind...I felt I was hardly able to read or make anything! Now that I'm back in Florida looking over what I did draw, I scanned into my computer the one other colorful picture I did and put the free Google program Picasa to work on it; here are the interesting results:

Original picture from my notebook using the Pentel india ink brush pen and Inktense pensils with a brush & water.

Now, here are the variations from the Picasa program...

 Infrared Film
 HDR-ish
 Invert
Heat Map
 Heat Map
 Duo-Tone

Gotta say, I love them all! And more variations are possible just by adjusting the sliders on the different styles in Picasa, like you see on the Heat Map above.

Please comment with any favorite photo editing programs and styles you use. :)

Happy Drawing and Editing!  Tristina

Tuesday, June 5, 2012

Journal Mag Doodles and Paper Towel Journals

OK, now I'm hooked on Art Journaling and Bookmaking... I'm currently reading Somerset Studio's latest Art Journaling magazine and Cloth Paper Scissors latest Pages magazine. Very inspiring on both extreme journaling and unique bookmaking techniques. Here are my latest sketches from the mags:


I primarily use the Micron pens, but just bought the Pentel India Ink Brush Pen and am experimenting with it. I like that it gives me a brush stroke like a Chinese brush, but I don't have to keep filling it with ink; it comes with replacement cartridges! Haven't figured out how to get the light greys yet, but working on it with lots of water...

I'm working on a series of articles based on using colored paper towels created from sopping up the runny acrylic paints used when painting my PaperScapes (tm). Here is what my pile of paper towels looks like... Yummy!


Having a blast creating my Paper Towel Journal. Can't wait till I can show it to you!

Happy Doodling, Journaling and Painting!  Tristina

Sunday, May 27, 2012

Inspiration From Latest Magazines

Been gaining inspiration from the May issues of Somerset Studio and Cloth Paper Scissors Magazines. Below is a sketch done this morning from my breakfast Pomegranate using Inktense watersoluable pencils and Caran D'Nache watersoluable oil crayons. This idea came from an article I read yesterday in the latest Cloth Paper Scissors to just draw the mundane things you see each day, with no worry as to whether the drawing is "good"...it just doesn't matter because it is in your journal for you!


Next, I have been doodling over the past 2 weeks in my journal as I read the latest Somerset Studio and their Art Journaling magazines. I am really interested in the human face...so practice a lot of faces from both sketches I see in the magazines and pictures of real people. I especially like the flower and circle doodle border on this one. I'm getting into the whole birdcage thing, too!


What is it that gets you inspired to paint or draw? Where/How do you find your subjects?

Thanks for sharing you comments and Happy Drawing!  Tristina :D

Monday, May 7, 2012

Art Journal Inspired ATC's

Colorful Artist Trading Cards
I was so inspired by finishing up my art journal for The Sketchbook Project, that last weekend I decided to play with my art supplies before putting them away. I grabbed a pile of blank bristol paper Artist Trading Cards (ATC's) and went to town.

I made two sets of 3 cards, starting at 11pm, before I finally petered out at around 2am. The beautiful thing was that I didn't have to get up early the next morning...Yay!

To create a background for the first set of cards, I used Portfolio water-soluable oil pastel crayons. I love their rich colors and I just randomly grabbed some colors and rubbed them on the ATC's. Then, I used a soft damp brush to move the colors around and get them to penetrate the paper a little and blend. Next I grabbed my box of Derwent Inktense water-soluable pencils and scribbled on the surface just to add my artist's hand to the cards. I had many scraps of paper around my desk from The Sketchbook Project leftovers, so I tore small pieces of papers that interested me and used regular gel medium to glue them to the ATC's after they had dried.

I have a large collection of stamps from around the world (about 2000 that I bought in Paris a few years ago) that always come to mind when I have projects like this, so I grabbed out about 50 and found 3 that matched the background colors that I had already laid down. I added texture with acrylic inks and paint both under and over the stamps and adhered the stamps and some 3-D elements with regular gel medium.

I finished off these cards using a soft charcoal pencil around the edges of the card and/or stamps and in some of the texture created by the paints and papers.

It felt so good to get these 3 little works of art done, that I continued on to make 3 more ATC's with a different theme.
Flower ATC's
I started the two cards on the left with acrylic fluid inks; one blue on the bottom and gold on the top, then the opposite on the second. The third card was an experiment with sticky grid tape that I painted over with acrylic paints. For the two left cards I used scrap tissue paper I had painted left over from The Sketchbook Project, glued it down with regular gel medium and stamped words on after dry with StazOn ink. The third card I glued a piece of scrap paper to and added a word torn out of a children's book.

I am a crazy woman for having elements that pop off my artwork, so I went to my canister of colored Prima Flowers and started auditioning the different color combinations with the ATC backgrounds. The flower on each card is a combination of 2 or 3 paper flowers I adhered to the ATC and to each other with WeldBond glue. I found at scrapbooking stores some really cool multi-colored flat-backed plastic DewDrops embelishments that I also WeldBonded to the center of the flowers, then layed a light book/object on top of each card overnight to help the flower and dew drop stay in place while the glue dried.

The flowers were fully set in the morning...and I was In Love on the big reveal. <3

I hope I have inspired you to make your own small works of art...just for the sheer joy of it...and remember, ATC's are for sharing! Anyone out there want to trade with me? Leave me a comment. :)

Happy Art Making,  Tristina

Monday, April 30, 2012

Submitted to The Sketchbook Project Today!

Front Cover
I finally submitted my sketchbook (and my 13 year old daughter's too) for The Sketchbook Project Limited Edition...they were due to be postmarked today and Devon and I just squeeked them in under the wire at FedEx at 7pm tonight! They will be scanned and we will be able to see them online in another month or so! Also, the Brooklyn Art Library, that sponsors the project, will be putting one picture or 2 page spread from everyone's sketchbooks that participated in a compendium book that they will be publishing later this year. Cool! To find out more about the project, go to www.thesketchbookproject.com.

It has been a challenge to work on my sketchbook these past few months because I'm working with a friend on designing a website for a new start-up company, but I took the weekend off and worked like a fiend all the way through till this afternoon to "make it work!" It's almost dry; had to send it with some butcher paper between a few pages to be sure they weren't stuck together when they arrive in NY in a few days. :)

Ended up that my sketchbook has 24 pages plus the cover. I used lots of different techniques that I have learned over the years from Cloth Paper Scissors and Somerset Studios magazines. Here are some of my favorite pics:
One of my Favorite Pages

My Favorite Spread

Before Journaling
After Journaling

Sunday, January 22, 2012

Love Charcoal!

There's just something about the messiness and feel of holding a charcoal stick in my hand that I love! Maybe the smokey smell too of the vine charcoal...


Recently I picked up a large stick of charcoal at my local Utrecht art supply store and decided to turn it to making a quick Zentangle(tm) sketch using some of the designs found in the new Zentangle 6 book.


Love the smudgy property of the charcoal and used a damp paper towel to smudge in places to get some depth and accents going. After creating this work I found anything that touched it or that it touched ended up with charcoal on it, so 2 coats of workable spray fixative were used to seal in the charcoal.

I find that whenever I am working on an art project, it inspires my 12 year old daughter to work on a project of her own. Here is what she recently created when we were Art Making:


If you get up close at the top of her page, you can see in green the names of famous Creatives like Walt Disney, Einstein, Martin Luther King, Thomas Edison, etc. Very cool!

So in the famous words of a young Creative, "Dream Big, Be Creative, Walk Among the Stars!" ;) Tristina

Sunday, January 1, 2012

Playing with Lettering

Happy New Year!!! Today was a very relaxed day for me...on purpose...so I could catch up on some reading and art-play. :)

I focused my efforts today on the Cloth Paper Scissors premier issue of "PAGES - The Creative Guide for Art Journaling and Bookmaking" since I know art journaling is something I am most likely able to sneak a few minutes a day in doing for 2012.

I was attracted to the magazine because of the beautiful pictures (I am a visual person who likes LOTS of color!) and it showed prominently on the cover that inside was an article about Graffiti lettering. I am fascinated with Graffiti (photographed skads of it in the Miami area) and take every opportunity to learn more about it and especially HOW to do it! See my efforts below interspersed with other inspiration from the magazine:

I used a combination of Utrecht alcohol based colored markers (with both a brush and chisel point) and Micron pens for the thin lines and calligraphy script (Micron Graphic #2 and #3).

Happy Journaling and Lettering in 2012!  Tristina

Friday, December 30, 2011

Get Your Art On!

Hope my readers are having a relaxed Holiday! Enjoying lots of pictures and experiences (and scraps of cool present wrapping paper) to ad to our artwork...

I got "the Cloth Paper Scissors Book" last week...full of INSPIRATION. Editor Barbara Delaney was tasked with selecting an assortment of articles from past issues of the magazine, with some extra tips and resources thrown in for us loyal readers.

So far I have read Jodi Ohl's "beginner's guide to BEGINNING" chapter. An excellent place to start at the New Year with the inspiring words, "Make a commitment to do something, anything, every day to make your creative life a real part of your daily routine." A great reminder to me that no matter where else my life is pulling me - kids school and activities, work, divorce, parents, teaching, etc. - I'm choosing to carve out time each day to be creative for ME (what a concept).

My favorite part of Jodi's chapter is her "TIPS to get you started" column. This includes the idea to enlist some of my creative friends to have a regular art play date, begin an online blog (ala ArtBookBug), take pictures when I have a dry spell (got a new kickass camera for my birthday in Nov - thanks Tim!), and think about working in themes or collections to build a "body of work" (I'm finding this is soooo important), plus a lot more ideas, including "How to start?". Her wise words for us living the creative life, "I only manage doing it all by simply doing." My words...decide SOMETHING to do and (like putting one foot in front of the other) manage at least a small move forward every day!

My creativity takes on many forms; sometimes just being able to take 15 minutes to read an artistic book or magazine to feed my brain, drawing zentangle(r) patterns or pictures that only require a pen and piece of paper, to full out days that I give myself about once a month to spend 4-8 hours straight pulling out all the stops in my studio with my papers/paints/mediums/inks/hard and soft canvases/encaustic wax/colored pencils and markers/and on and on! Please comment with your favorite creativity times/activities/supplies...

Here are my latest Zentangles(r):
 This is done on a watercolor postcard, so can be sent through the mail.
This is done on an Artist Trading Card (ATC).

By the way, thank you to all who gave me gift cards to my favorite Utrecht art supply store this Christmas! :)

Here's to making achievable artistic goals for 2012. ENJOY  THE  PROCESS and APPRECIATE THE AMAZING PEOPLE YOU WILL MEET ALONG THE WAY!!!

HAPPY READING AND CREATING ;)   Tristina

Monday, November 21, 2011

Fuzzy Headed

I was texting a friend of mine in the morning after dropping off the kids at school. She misunderstood something I had said and apologized for "being silly". I assured her that I share her same "early morning child induced intoxication" and am usually quite fuzzy headed myself until about 10am!

That being said, here is another of my recently finished Zentangles. I usually work on these in the morning when I just need to zone out till my body pumps enough blood to my head to be able to think cogently. :)


This Zentangle includes KurlyQ, Dropletts, Sprouts, Bricks, In N Out, River, ChainGang, Spinners, Portholes, Yimkin and a few others I don't remember the names of off the top of my head!

I will be hosting a Zentangle Artist Trading Card (ATC) demonstration at the Utrecht Art Supplies shop on North Federal Highway in Fort Lauderdale (next to the Whole Foods) on December 17 (Sat) from 1-3pm. Bring your blank ATC's (Smooth Bristol are best for this project) and Micron pens or purchase them at Utrecht just before the demonstration. Completed ATC's will be put on display in the shop for other customer's viewing pleasure. Should be a very fun and relaxing primer to the holidays!

To learn more about Zentangles, go to Zentangle.com or TanglePatterns.com. I will be going to class to get my "Certified Zentangle Trainer (CZT)" in Rhode Island in February... I'm a Florida girl, what am I thinking???

Cheers to your relaxing this Holiday Season. Happy Turkey - Thanksgiving - Day!  Tristina