Showing posts with label Derwent Inktense pencils. Show all posts

Thursday, September 27, 2012

Free Your Mind for Inspiration

I'm being inspired these days reading Sue Bleiweiss' book, "The Sketchbook Challenge". Makes me want to dig right in to my journal and create SOMETHING! Don't you sometimes find yourself staring at a blank page/canvas, or simply colored background wondering what your next step should be? Yes, I find myself there, too! Using a colorful book full of tidbits from accomplished mixed-media artists like "The Sketchbook Challenge" can really help to get unstuck.

I wrote a short paragraph on the blank page about looking at other artist's work to get inspiration and imagine what materials & techniques were used to create their pieces, then I used a brush marker to make the shoe and flowers. The colors are from Derwent Inktense water soluble colored pencils and water. A painting with a shoe attached by one of my daughters was the inspiration for this page.

Artist Lyric Kinard in Sue's book says, "My sketchbook is a place where ideas come into being, time is filled, the brain is allowed to wander freely without expectations or limits. Compositions are explored and themes are developed...but mostly it is a place to play." In that place of playfulness, I tell myself that the work is not precious; if I don't like what I create I can work over it! This frees my mind to get ideas flowing to the page/canvas. I surrender to the idea that whatever comes out of me, through me really, is OK. Don't worry that something might look dumb, or won't look 'right' (what's 'right' anyway? as long as it's YOU it's good!). Try an exercise I learned from Claudine Hellmuth to get out of having to make your work 'perfect' and do an entire project with your non-dominant hand. It makes your work look more child-like and helps free our need for perfection!

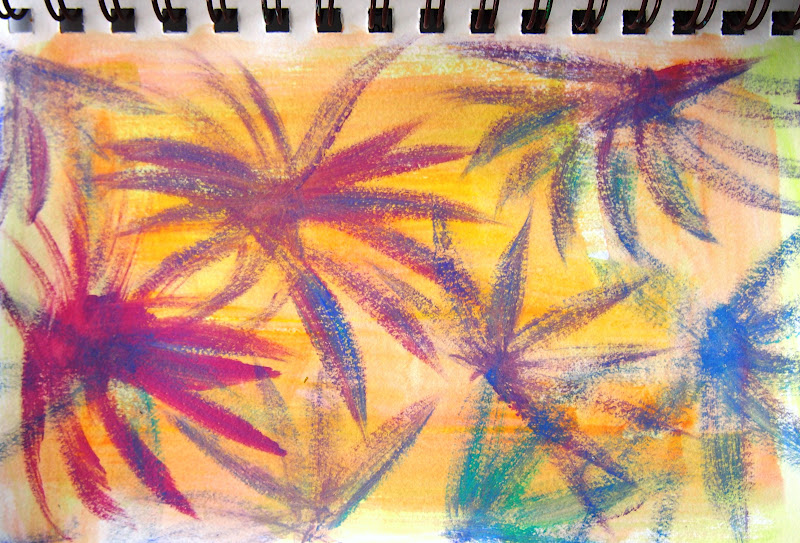
I was flipping through a drawing book and saw these exercises when I decided to do all the strokes with my left hand (I'm right handed). I love the unpredictable, jagged, organic look this gives my work.


I really appreciate the section in Sue's book where she invites her guest artists to consider everyday objects. This is a subject that every one of us can make use of at the spur of the moment. The examples from the artists of how they touchstoned from this concept to making their sketchbook studies of scissors, forks and knives helped me better observe beauty in the ordinary. I especially like what artist Kelli Nina Perkins said, "Imagining my everyday objects brings a smile." She also suggested as an idea (and it's shown in the book) to make 'clean' sketches in our journals so that later the pages can be scanned and transferred on to paper or fabric as the basis for other pieces of artwork (her sketches were scanned and put on fabric to make pillows, then she chose to paint some of the images with a vibrant transparent paint - they are gorgeous).


Here I grabbed a photo one of my friends shared on Facebook that intrigued me and played around with the shapes. Shells fascinate me! The spiral shape top right I now use in my paintings.


You can learn more about Sue and The Sketchbook Challenge by going to www.SueBleiweiss.com and www.TheSketchbookChallenge.com. Find projects at www.SueBleiweiss.com/blog/free-projects/. Now, go free your mind and get sketching/painting/dancing...whatever creative outlet your heart desires! Be playful and organic. Create to your heart's content. :D

Tristina

Wednesday, July 25, 2012

Colorful Works in Progress & Leftover Paint Projects

WORKS  IN  PROGRESS

I am so inspired by the latest Cloth Paper Scissors magazine to CREATE! Little did I know the choice to use a 4 pack of Michael's 6x6 canvases for my latest multi-media creations would be perfect for the local Utrecht store's upcoming 6x6 challenge / show that I found out about today! Ahh, FATE. :) The canvases are not done, but here's a sneek peek:


The raised surface at the tops of these canvases are a layer of Golden Light Molding Paste into which I impressed various circle shapes from bottle tops to straws. After the molding paste was dry (I left it overnight), I used Caran D'Ache NeoColor II water soluable wax crayons to scribble areas of color onto the canvas and paste surfaces. Using a damp to wet soft paint brush, I activated the water soluable pigments and allowed them to slosh and mingle with one another. Note: I did rinse off my brush between colors and started with the light colors...working my way to the darker colors, so as not to create mud. Below is an example of a canvas where the top part has had water brushed on it and the bottom portion has not:


Next, I took various colors of Derwent Inktense water soluable pencils and followed around the grooves of the circles that I had made in the molding paste. After, I again used water and a brush to run over the pencil pigment which released their brilliant color into the grooves of the circles. I left all to dry overnight. The following day, I used Liquitex Basics Acrylic Paints to paint the sides of the canvases so that the colors on the sides would match the color swatch areas on the top of the canvases. The sides of the paintings dried in about an hour, after which I used bubble wrap, the plastic covering for oranges and a plastic pipe to put the additional markings on the top of the dried paintings using acrylic paints.

LEFTOVER  PAINT  PROJECTS

I can't stand to waste paint! Use every last drop of pigment SOMEWHERE is my motto!!! As I am painting and finish with an acrylic paint color, if there is paint left, I like to use it on paper and canvas that I make sure to have laying around my work area. Recently I had 2 journals, a wet/dry media paper pad and an unstretched canvas pad available to use on my worktable. 

To create quick paper and canvas pad backgrounds, I get my brush sopping wet, pick up some of the leftover acrylic paint and swipe it across the surface in an up and down and side to side motion, adding more water if I feel necessary to get all the pigment out of the brush. These create great, quick backgrounds to put other leftover paint on such as in these pages:


Another technique after adding the wet, sloshy paint to your paper or canvas pad is to press your brush full of water and paint along the top or side of a page and tilt the page up to get the colors to run. I recommend you put paper towels under the edge of your surface to catch the running paint. Remember, you can do the slosh and tilting in multiple directions for even more fun. Here are some examples:


This is on unmounted canvas so that I can sew through it!

And last, below is the beginning of a multi-media painting after using the dripping paint technique on paper that I had already used as a background when painting other small elements, leaving masking shapes behind  that add interest and bold colors to the back story:


If you have any questions about the above painting techniques, just leave me a comment below...

Enjoy a CREATIVE week!  Tristina :D