Ahh, the smell of fresh green grass and the shade of old oak trees, sharing time with my daughter on a beautiful sunny day along the waterfront... Enjoyed this real life experience Saturday in the Riverfront park Broward Art Guild sponsored Quick Draw timed painting competition. My fellow artists and I had 2 hours to make our creations in the idyllic setting while passer's by stopped to ask questions, photograph & wonder at the art making happening right before their eyes!
Working with Charcoal and Pan Pastels to make a quick underpainting.
My daughter, Devon, in the background working on her clock drawing.
This was my first timed competition. Over the several days leading up to the event, my emotions and calendar kept waffling; did I really want to stretch myself to make a full mixed-media painting in just 2 hours? Could I get done in that short time? What subject would I paint that could be portrayed quickly and tie in with the environment? The event was taking place outdoors; was it going to rain on us - it always seems to rain around 3pm in steamy Florida and the competition straddled this time?! What would I do with my two daughters, age 13 and 16; would they come or stay home - could I trust them alone? But...my car really needs a good wash / wax and the only time the guy's available is Saturday afternoon...and on and on.
13 year old Devon drawing the clock. Photo by Sun Sentinel's Mike Stocker.
Don't you find that sometimes it just takes making the decision to bite the bullet and make it work? I finally decided to just do it! To put my fears (pesky internal dialogue (I know you have some too!)) aside and commit to having fun no matter what. I made the decision to participate in the Quick Draw early Friday evening and spent time after the kids went to bed gathering supplies: Gloves (check), Gesso (check), Liquid Matte Medium (check), Regular Gel Medium (check), Brushes, Watercolor Paper, Water and Alcohol Spray Bottles, Texture Tools, Apron, Painter's Tape, Paper Pallet, Old Dictionary, Fabric, Oranges Mesh Bag, Bubble Wrap, Scissors, Cotton Balls, Water Containers with Lids, Water Jug, Drop Cloth, Paper Towels, Trash Bag, Easel, Chairs, Table, etc.. Then for mixed media: Pan Pastels, Pastel Sponges, Acrylic Paint, Oil Pastels, Charcoal and other Pencils, Inktense Watercolor Pencils, NeoColor II Water Soluble Crayons, DecoColor Acrylic Pens and Ranger Alcohol Inks. Whew! That was a mouthful. I then selected a gallery wrap canvas and slathered it with Golden white Absorbent Ground so the surface would take pastel well, leaving it to dry overnight. By then it was late in the wee hours of the night, but I went to sleep satisfied that I would be prepared the next afternoon.

Devon and me under the beautiful shady trees on the river. Photo by Sun Sentinel's Mike Stocker.
I was thrilled that Devon chose to come with! We checked in, loaded up our supplies on a hand-truck and wandered back and forth along the riverfront searching for the "perfect subject". Settling on the clock tower, we found a beautiful area under big shady trees to set up. We had a half hour before the start of the timed competition to arrange ourselves. After I had my drop cloth down and canvas set up on the easel, you wouldn't believe it, but some parrots up in the tree above us let'r rip onto my canvas...bird poop streamed down. Thankfully I jumped out of the way, so it only got on the canvas and drop cloth. I took this as an excellent sign of good luck! Grabbed a paper towel, wiped the poop off best I could, and got my pan pastels ready for the starting horn. My adrenaline really started flowing when the piercing air-horn blasted.
Laying the underpainting with Pan Pastels. Photo by Sun Sentinel's Mike Stocker.
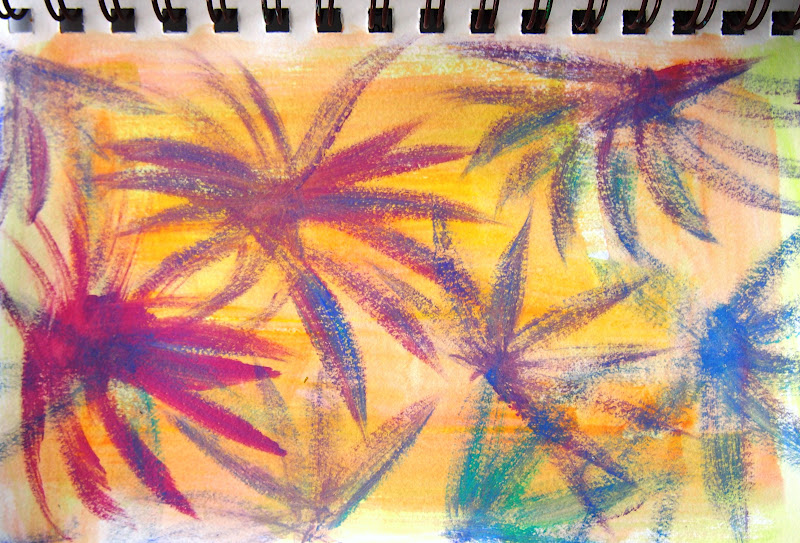
I had decided the night before that I would look for an architectural feature and make a somewhat abstract, loosey goosey rendering using Pan Pastels for an underpainting because they are so color rich and easy to apply in big strokes with a sponge (I was trying out the Pan Pastel brand sponges, but you can use cosmetic wedge sponges just as well). Lots of people stopped by fascinated by the Pan Pastels! I explained that they are my favorite because they are pigment rich for bold colors and barely make any dust; they don't have any dusting off the surface of the canvas, so I didn't have to wear a face mask! The underpainting took about 40 minutes.
Then I went into mixed-media high gear... I grabbed a page out of the old dictionary with words around the definition of "circular" and cut circles that were glued to the clock face with regular gel medium. Then I added some of my hand colored tissue and fabric to the painting in the same manner. Next, I sprayed the painting in areas with rubbing alcohol and squirted the alcohol inks on to create fast-drying runny highlights; I turned the canvas upside down also while doing this to get the ethereal feel of dripping up in places. Moving on to acrylic paint, I used a champagne cork I found in the grass while setting up to stamp different color "bubbles" on the painting, then used my favorite copper and brass colored paints to paint in the clock. A charcoal pencil came in handy at that point to re-define the lines of the clock, so that I could come back in with payne's grey paint on a small brush to loosely paint in the lines. Devon was finished with her drawing / painting at this point and named it "Alternate Universe".

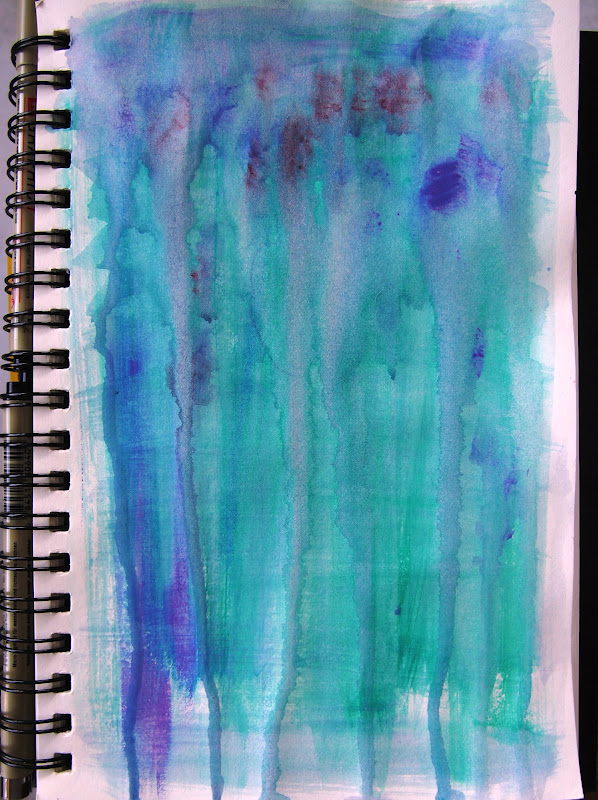
Devon's "Alternate Universe"
My parents had joined Devon and me during the flurry. Dad, looking with fresh eyes, suggested that my painting needed a tree! Wow, I had about 20 minutes left, so I went for the soft, creamy Sennelier oil pastels to quickly throw in some suggestion of greenery near the clock, then a little hint of Pan Pastel color over areas of the "tree" to knock down the shine worked perfectly to give my clock a counterpoint. When the last 4 minutes of the competition were called, I whipped out my titan buff off-white paint and added a few last highlights to the clock. Wow - BRUSHES DOWN!!!
We were given an hour to make our paintings ready for auction, which meant framing or, in my case, painting the gallery edge, cleaning up and transporting our works to a close-by restaurant for judging. I used an ink roller and payne's grey acrylic (I love the way it dries so fast!) to paint the edges of my clock tower and sent it with the easel, daughter and parents to the restaurant while I took all our gear to the car.
Devon's "Alternate Universe" drawing/painting on the floor in front of my mixed-media clock tower.
It had been so hot out in the park, I think I lost 5 pounds from sweating...so it felt heavenly to be indoors at the restaurant for dinner with my family. It was nerve wracking watching the judge walk back and forth in front of the paintings asking questions of the Broward Art Guild President. In the end, the bird poop magic worked; my painting won FIRST PLACE! What a great experience. My advice to you about competitions? ...Set aside your fears and boldly jump in, bring yourself to the competition, and enjoy the process!!!
FIRST Place Ribbon!
P.S. The 4 o'clock on the clock face is the time the contest ended. :)
Go forth boldly! Tristina